Build AWS Virtual Private Cloud (VPC) using Terraform

By default when we register an account on AWS, it will create a default VPC for us. This default VPC is good enough for starting a test project. But in the real world, it’s better to create a new VPC before creating instances such as EC2, RDS, ECS, etc. By creating a new VPC, you can tailor the network the way you want and specify which part of the app can access the Internet or can be accessed by the Internet.
Requirements
Before starting, make sure you have Terraform installed on your machine. I use tfenv to manage Terraform version, at the time this article is written, I use the version v1.3.3. Also, you will need an IAM to apply the code to AWS, I created an IAM with Administrator access for this tutorial. Once everything is set, The structure of our code will be:
myapp
├── main.tf
├── terraform.tfvars
├── variables.tf
└── vpc
    ├── main.tf
    ├── outputs.tf
    └── variables.tf
We have myapp/main.tf as the entry point of our code. This is where we'll execute our terraform command. We create a vpc folder under myapp which in the future we might create another infra's code such as s3, rds, etc.
Initialize The Entry Point
Once every file is created, we’ll start to copy and paste the code below.
The code is pretty straightforward, the entry point code loads the module from the vpc folder, and from the entry point we can pass some variables that we'll be using on the vpc. We also can share the output of any module across the modules from this entry point (we'll cover this later in the next article).
Create the VPC
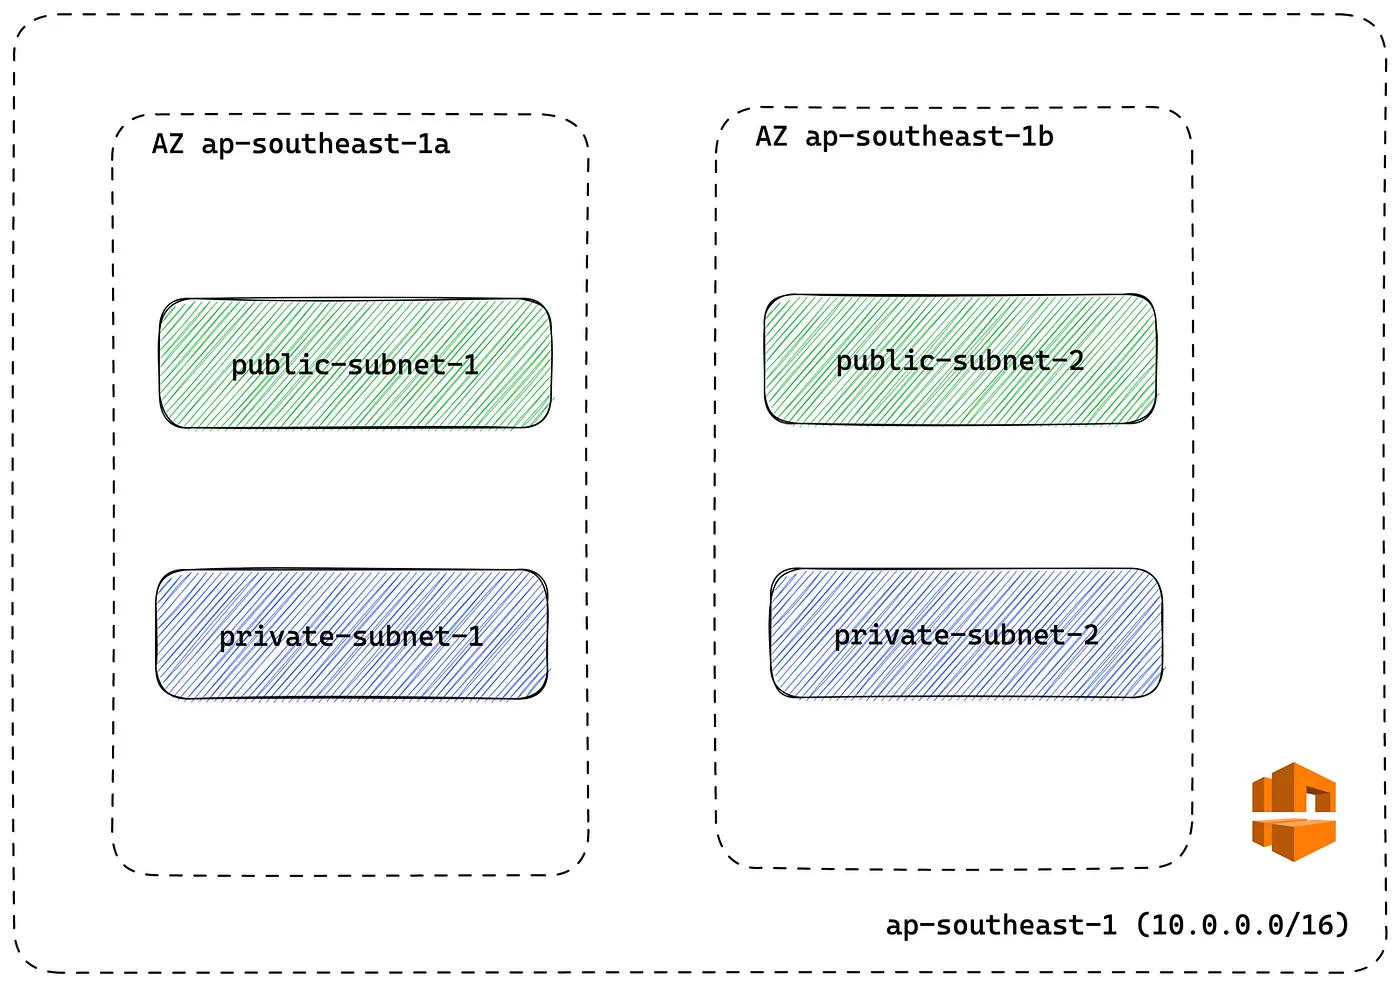
Now, let’s create the VPC. We’ll create two public subnets and two private subnets. For the public subnets, we’ll associate it with an Internet Gateway on the Route Table, meanwhile, for the private subnets, we’ll associate it with a NAT Gateway. Here’s our network map.
And here’s the code.
If you have done copy and pasted the code above now we need to initialize the terraform code by running:
$ terraform initOnce Terraform has been successfully initialized! the message is shown, which means we have successfully initialized our Terraform code. Now, we’d like to know what our code does on AWS. We go back to the terminal and run:
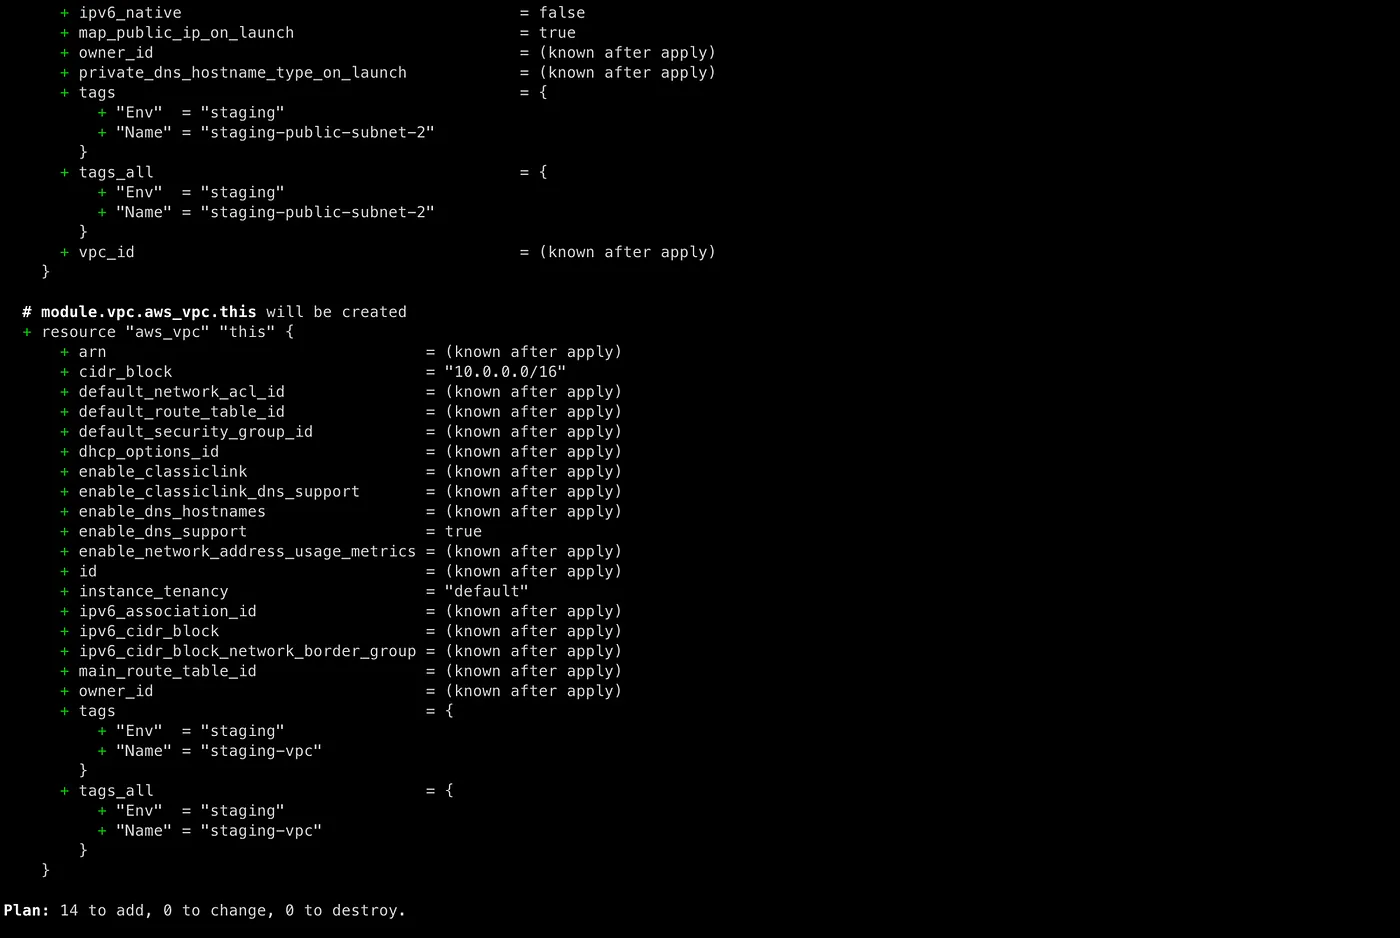
$ terraform planAlthough this step is optional, it’s good to give you an overview of what resources will be created while checking the configuration is correct. On the terminal, you will see a bunch of resources that will be created on AWS, great!
Provisioning
Everything went well so far, now we want Terraform to provision the resources on AWS by running terraform apply. When you run this command, it will read the configuration and send them to AWS, and actually create the resources. It might take a minute or less to apply this.
$ terraform apply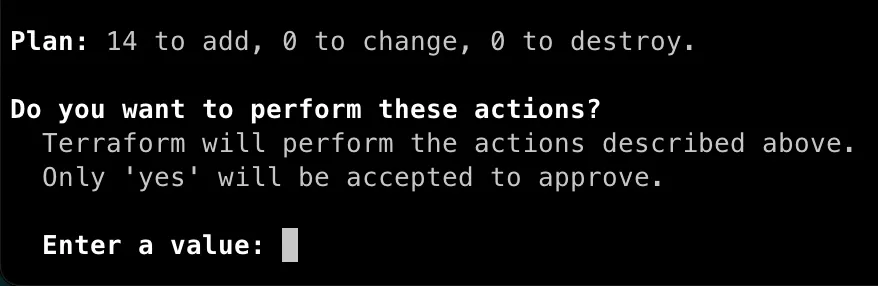
Type “yes” to confirm the action.
Once the creating process is done now we need manually check and verify on the AWS console.
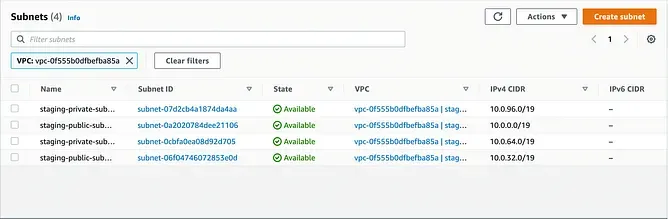
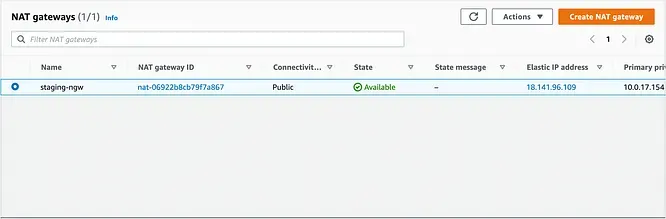
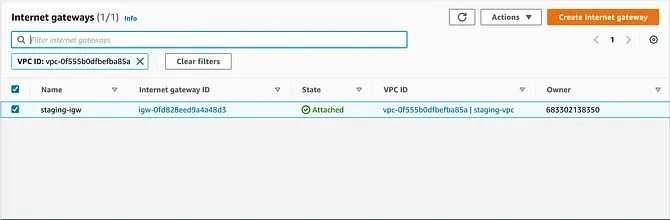
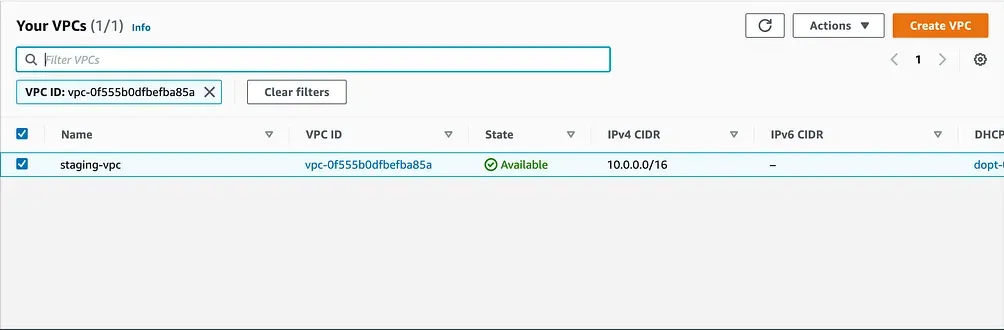
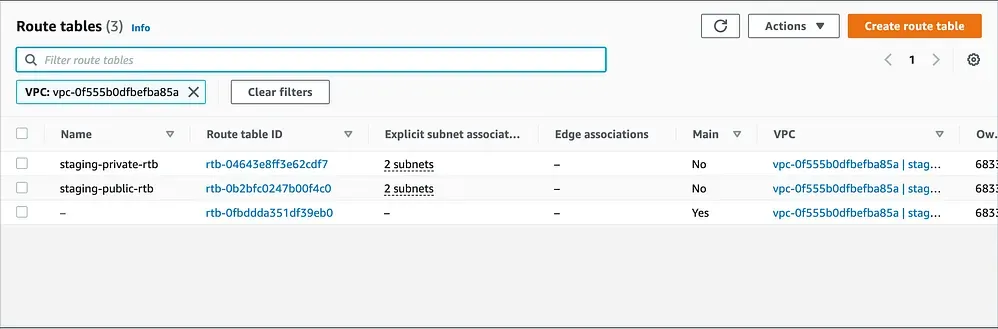
The VPC and its components have been created on AWS.
Summary
In this tutorial, we have covered how to create a VPC using Terraform on AWS. Typically when using Terraform, the development process consists of three steps: terraform init > terraform plan > terraform apply. Also, there are other terraform commands worth mentioning that I find useful such as:
terraform validate: To validate terraform syntax before runningterraform planterraform format: To format terraform syntax
Don’t forget to clean up everything after you finished this tutorial to stop incurring charges. To destroy the already created VPC run:
$ terraform destroy -target module.vpc